I don't know if you know this about blogging...but let me just tell ya...it takes a lot of time.
"Not now, Stuart...can't you see I'm typing a post on squash?"
"Georgia, can you please go change your own diaper this time? I'm in the middle of re-configuring my margins."
I kid. If I ever get to the point when I am ignoring my family to write on my blog, Lord help me.
The truth is, even though it takes time, consistency, and energy - I love this blog. I love hearing from my readers. I love getting comments & emails. I love being able to have a virtual space to connect with others like me and being able to learn new skills. I love the encouragement we can bring to one another. What a cool place the internet is!
That being said, I thought it's be fun to bring a new element to this rad blog.
Weekly menu plans.
I've received lots of comments & emails from readers inquiring as to how to incorporate better foods into their diets. And yes, I am in the process of writing a detailed e-book on this as we speak! But because that will take me a few more months to complete, in the meantime, I thought it might be beneficial if I posted a menu.
Each Thursday, I plan our menu for the next week. Normally, I don't write down breakfasts and lunches, because they are fairly consistent and are usually leftovers. But for your sake, I will try to document three meals per day. Plus snacks, of course. Because this girl loves snacks. Also - please note that I like to cook a lot (as in, big portions!) for dinner. That way, we always have leftovers for lunches. It's hardly any more effort to cook extra...and really pays off the next day!
Obviously, your family may have different taste preferences than mine, which is fine! These menu guides are simply an outline of what our whole-foods diet looks like. Switch 'em up and swap things out as you wish! Would it be helpful if I included our grocery list too?
If you don't already plan a weekly (biweekly, or even monthly!) menu, might I recommend it? Not only does planning a menu keep you from beating your head against a wall as you try to figure out what to cook for dinner, but it also allows you to overlap ingredients and plan out your grocery list. I cannot be trusted going into a grocery store without a list - it's just too dangerous. We have a rule in our home - if it's not on the list, we don't buy it! Period.
Exception is made for red wine and/or artichokes and/or pomegranates. Because I love all of these things and if I see them I buy them. Always.
That being said, let's start this bad boy!:
SundayBreakfast: Fried eggs, soaked whole wheat toast, fruitSnack: Homemade popcornLunch: Potato goulash (fried potatoes, onions, peppers, eggs, mushrooms, avocado, tomatoes, etc.), corn tortillas, fruitDinner: Moroccan chicken, basmati rice, cucumber salad
MondayBreakfast: Kefir smoothies, scrambled eggsSnack: Dried fruit and almondsLunch: Leftover Moroccan chicken & rice, veggie sticksDinner: Beef stew, soaked whole wheat bread, roasted beets
TuesdayBreakfast: Soaked oatmeal with fruit, scrambled eggsSnack: Cheese sticks, sliced cucumberLunch: Leftover beef stew, veggie sticksDinner: Scotch eggs and soaked waffles with pear butter
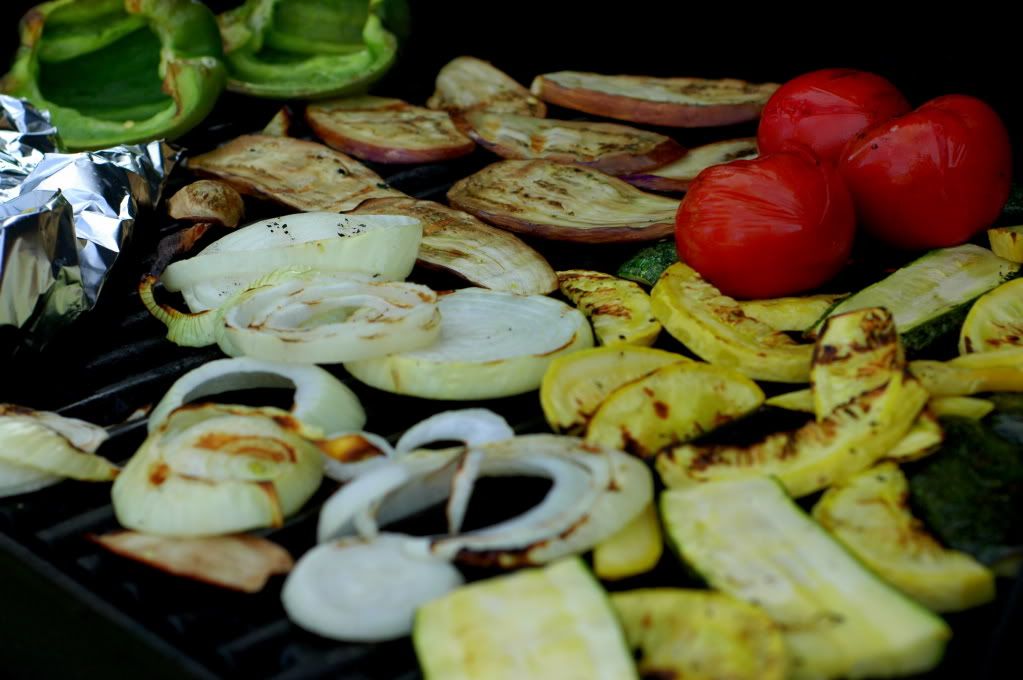
WednesdayBreakfast: Homemade yogurt & fruit, fried eggs, bacon, and toastSnack: Homemade popcornLunch: Leftover scotch eggs and waffles, fresh fruit & veggiesDinner: Beef bourgignon, smooshed potatoes, grilled eggplant
ThursdayBreakfast: Dutch baby pancake with apples, scrambled eggsSnack: Fresh fruit and almondsLunch: Leftover beef bourgignon, potatoes, and fresh veggiesDinner: Homemade tomato soup, grilled cheese sandwiches with avocado on soaked whole wheat bread, cabbage slaw with almonds and miso dressing
FridayBreakfast: Scrambled eggs & toast, kefir smoothiesSnack: Cheese sticks, veggiesLunch: Leftover tomato soup, leftover cabbage slaw, fresh fruitDinner: Mom and Dad's for family dinner!
SaturdayBreakfast: Homemade fried potatoes, bacon and eggs, homemade yogurt & fruitSnack: Wing-it!Lunch: Moroccan Stuffed Acorn Squash, toasted & salted almonds, green salad or beansDinner: Eat up all the leftovers!
Is this set in stone? No way. Sometimes, we'll invite friends over last minute and need to change plans or we decide to have egg sandwiches for dinner. It's flexible - don't worry! The purpose of my menu is (primarily) to make sure I have all the ingredients I need to make meals, but it's also to give me peace of mind. Having a plan, laid out ahead of time, allows me to put my mental-energy into something else. Like blogging. Uhh, hello?!
Ten minutes of planning can replace an hour of standing in front of your refridgerator wondering what the heck you're going to produce out of old celery and a tub of sour cream.
And lastly, planning a menu allows us the luxury of having fun with our food! Slip a few jazzy recipes into your menu! It doesn't have to be boring! When I know that I get to try a fun new recipe, or use a unique ingredient, it gets me excited about cooking dinner. Truly, it does.
Like yesterday morning, when I got to try a new pear dutch baby pancake recipe! Whoop whoop! Girlfriend's on fire!
Simple pleasures, my friends. Simple pleasures.
The end.
I can hardly concentrate on anything else.
At the time I write this, my dear friend Kaci is six centimeters dilated and getting ready to deliver her first baby, Alexandra.
Needless to say, approximately 1.2 million prayers have gone up for her, Justin, and Alexandra today. In a matter of hours, they should be holding their new little bundle 'o love. *Smile*. There is nothing in this world better than holding a newborn baby. And that's all I gotsta say about that.
This post does have a point. (Although, let's face it, many times the point of my post is to talk about babies).
However. This is not one of those posts.
The point of this post is food. Another favorite topic of mine.
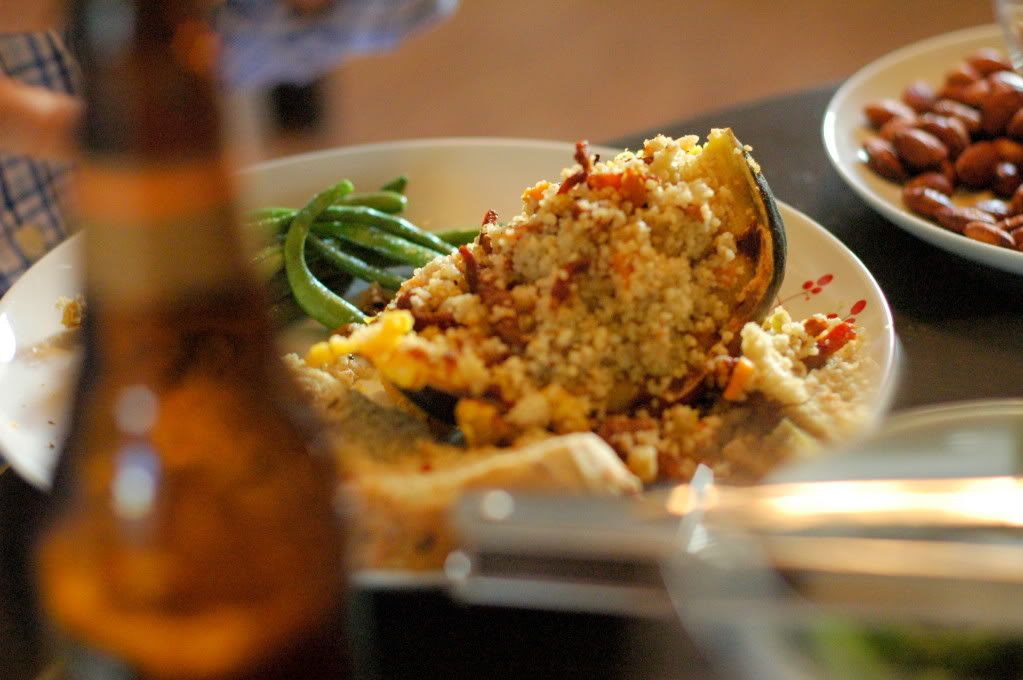
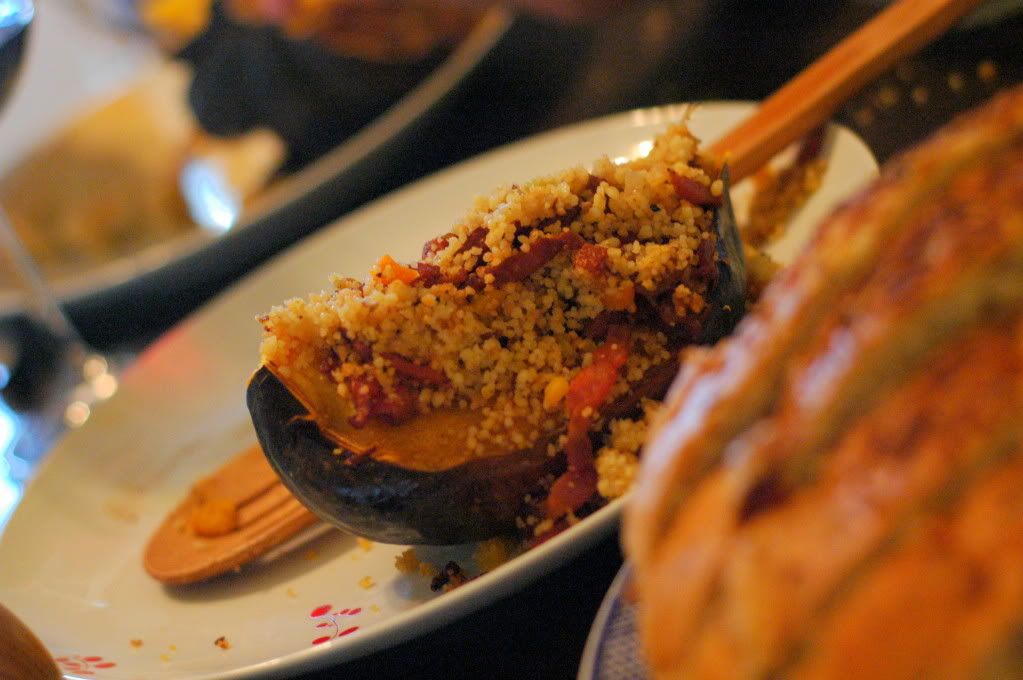
Moroccan Stuffed Acorn Squash, to be exact.
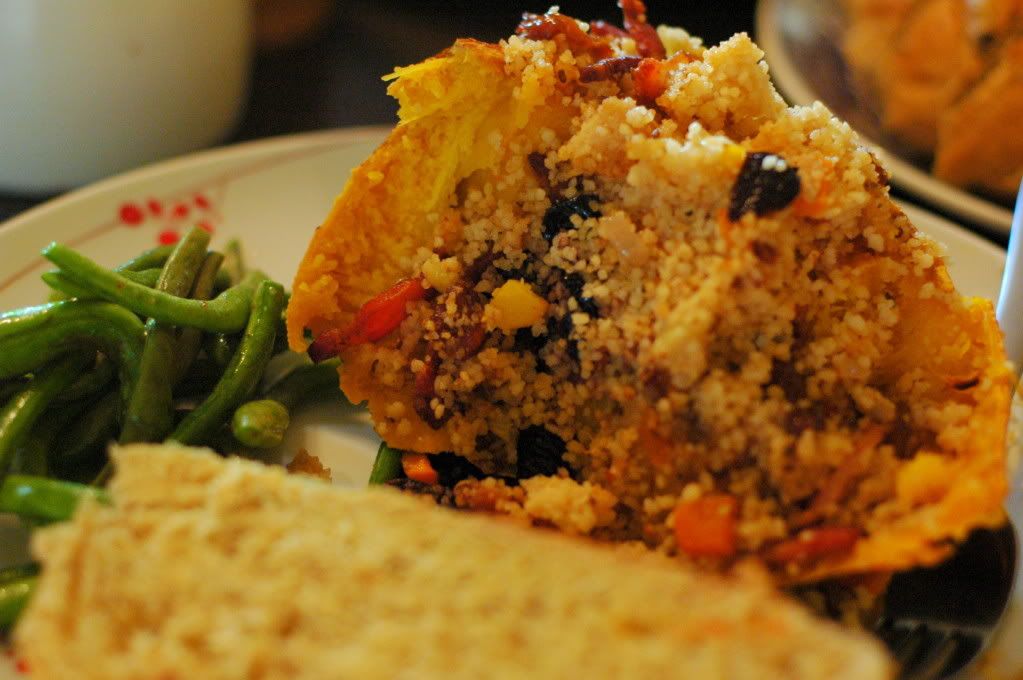
Prior to making this recipe, I'd never eaten an acorn squash before. And man, oh man, oh man. Why have I waited so long! They aren't as "squashy" as other squash...it resembled almost a sweet potato or yam in texture. Needless to say, when roasted and stuffed with dried fruit and bacon infused couscous, it was delicious.
Moroccan Stuffed Acorn Squash - For your fall, squash roasting pleasure. This recipe will make enough stuffed squash for 6-8 servings. Feel free to half it. You're a free bird, remember?
You will need: - 2 acorn squash, halved - 4 tablespoons butter - 4 tablespoons rapadura
- 4 carrots, minced into teeny-tiny pieces - 4 ribs celery, minced into teeny-tiny pieces - 2 shallot, minced into...okay, you get it by now - 4 cloves garlic, smooshed & minced - 4 tablespoons butter - 3 tablespoons ground cumin - 1 1/2 cup dried fruit of choice (raisins, diced apricots, diced cherries...) - 28 ounces chicken broth - 2 cup uncooked couscous or quinoa - Salt & pepper, baby - 1/2 pound bacon (nitrate-free!), minced and fried until nice and crispy!
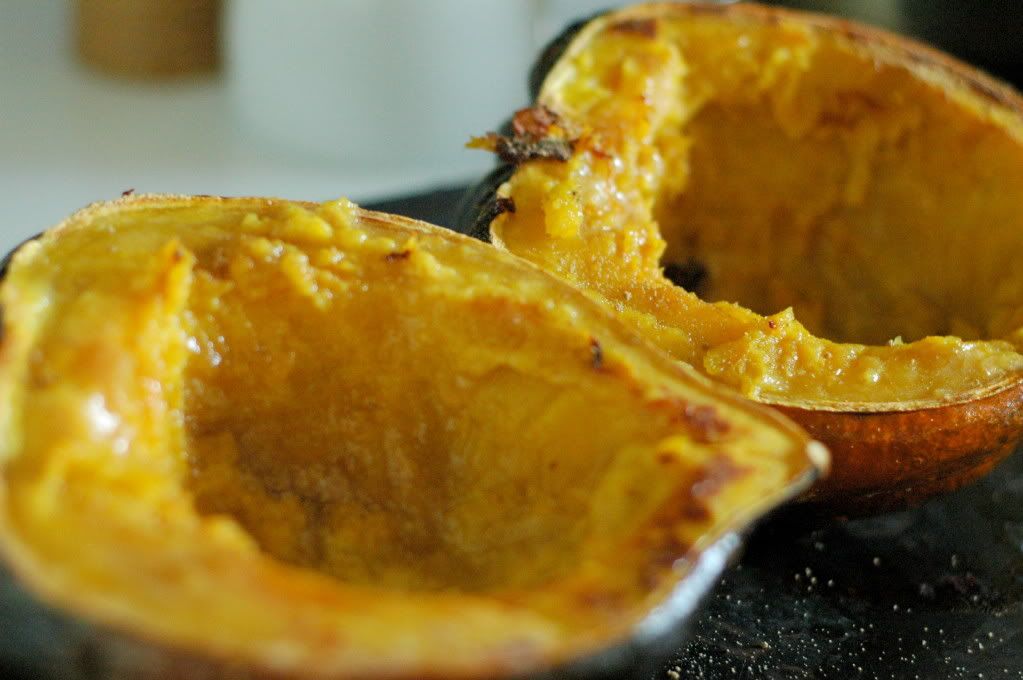
Step One: Cut the squash (carefully!) in half. Remove the seeds. Lay the squash flesh side down on a baking sheet and roast at 375 degrees for 30-40 minutes, or until tender. Then remove the squash, flip 'em (carefully, I said!) over. Put a tablespoon of butter into each squash half. Then, using the back of a spoon, gently smear the butter around. Yum. Then, sprinkle a tablespoon of rapadura over each squash half.
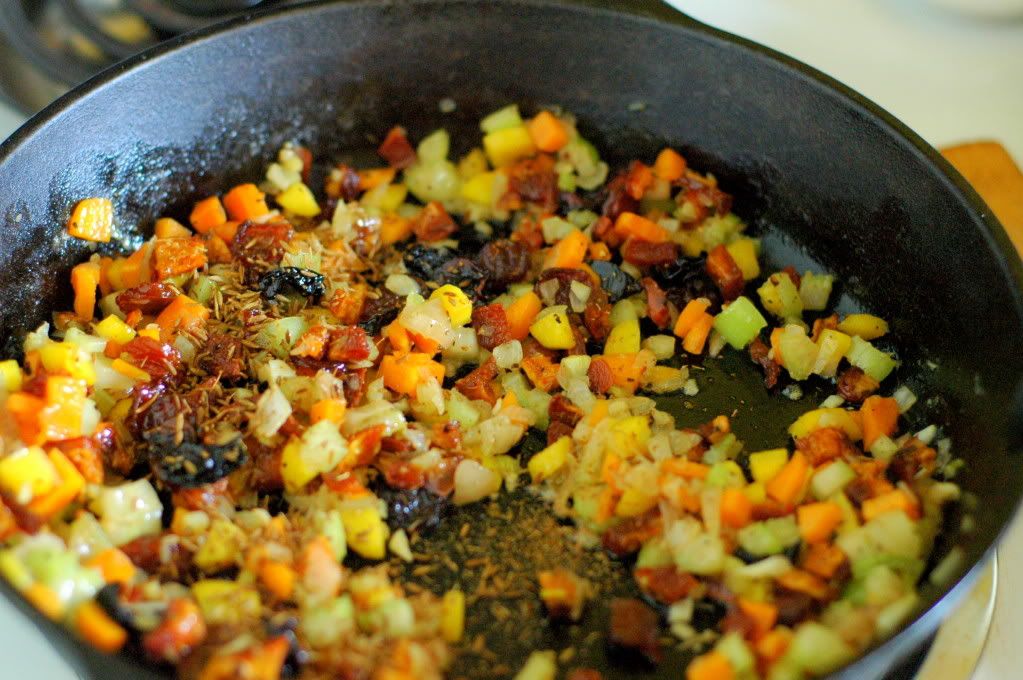
Step Two: While the squash is roasting, get started on the pilaf! Melt the butter into a skillet. Then, add in your shallot, carrot, celery, and garlic. Slowly cook on a low temperature until they are nice and soft.
Step Three: Stir in your cumin, chicken broth, and salt & pepper.
Step Three: Finally, stir in your couscous or quinoa. Cover and let simmer for 5 minutes, or until the couscous or quinoa is tender.
Step Four: Lastly, stir in your dried fruit and cooked, crispy bacon bits. Oh yum. Oh yum, yum, yum.
Taste it. Does it need anything? A squeeze of lemon juice? Some fresh mint or cilantro? Some more salt?
Step Five: Once your happy with the pilaf, spoon it generously into the acorn squash halves. Serve & enjoy!
This dish was such a pleasant surprise. Not only did it boast an earthy richness from the healthy squash, but it also had the nice sweetness from the dried fruit and the saltiness from the bacon. That's a lethal combination if there ever was one...
Unfortunately, I was so excited to eat the squash, that I almost forgot to take a picture of it. These are my half-hearted attempts to capture the beautiful squash before it was ravenously consumed. What can I say? We had company. We were hungry. We ate!
In any case, I assure you, these delicious roasted treats are worth your time.
Enjoy!
Update as of this morning: Alexandra Elizabeth was born healthy and happy last night! Praise God for his goodness!
I'm posting this recipe because all too often, we just need something quick and nourishing to eat.
Sweet, too. Did I mention we need something sweet?
I originally wanted to have a quick snack that I could pack for Georgia in her diaper bag, as I'm trying to avoid the sugar-coated, highly refined foods that are all too often considered snack food. I've had a few people ask me about whole-foods snacks for kiddos, and thus far (I'm only a year in remember...) we've found that these snack options work great for G-baby on the go:
- Dried fruit (homemade) cut into little pieces - Raw cheese, cut into little bite-size squares - Cucumber, skin removed, cut into bite-size pieces - Cherry tomatoes, quartered - Grapes, quartered - Soaked whole wheat bread or soaked waffles, torn into little pieces - Soaked & cooked beans (she loves these!) - Bananas, cut into pieces - ...and introducing....homemade protein bars!
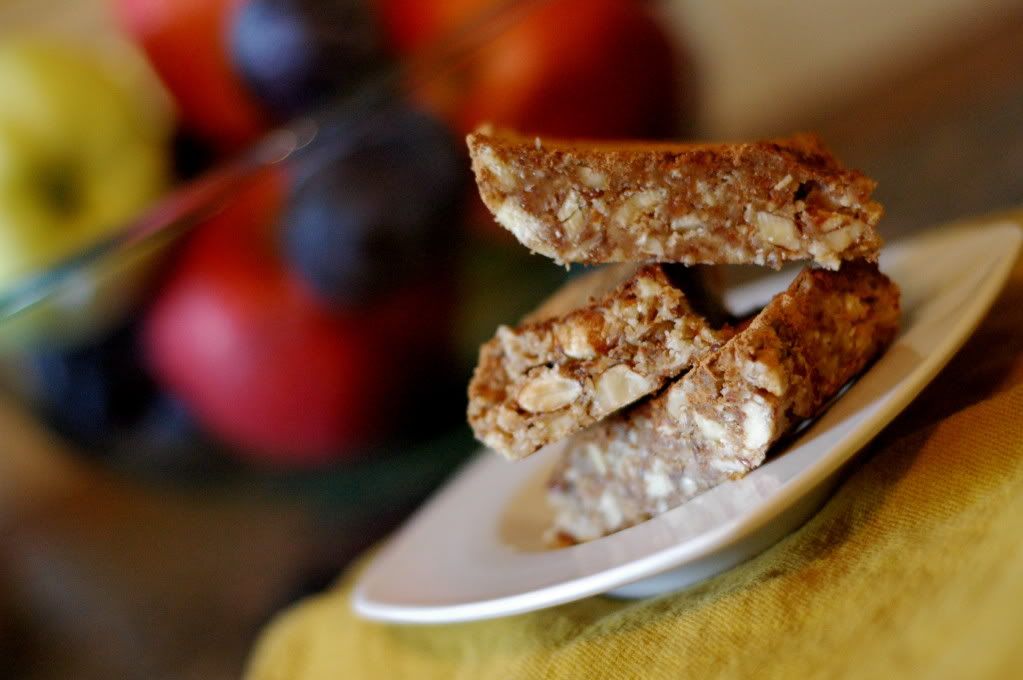
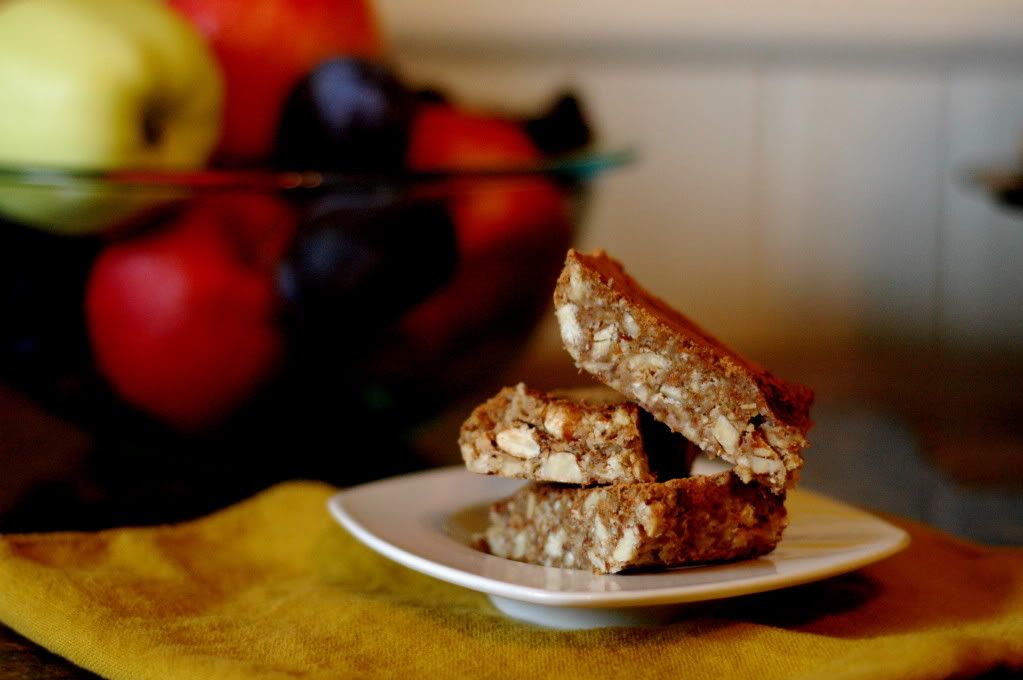
I made these last week and we've all been enjoying them for the past few days (especially G baby...it's like dessert!). They also serve as a perfect snack in Stuart's lunches - quick, easy, & full of goodness. These took me approximately ten minutes to make - next time, I may even double it so we can enjoy them for even longer! Plus, it would save me dishes. Aren't I efficient?!
Homemade Protein BarsYou will need: - 2 cups raw almonds (soaked & dehydrated is best) - 1/2 cup ground flax seed - 1/2 cup shredded coconut (unsweetened) - 1/2 cup almond butter or peanut butter (watch those added ingredients!) - 1/2 cup coconut oil or a melted high-quality butter - 1/4 cup raw honey or rapadura - 1 tablespoon vanilla extract - 2-4 tablespoons cocoa powder or carob powder OR 1 cup dark chocolate chips, melted
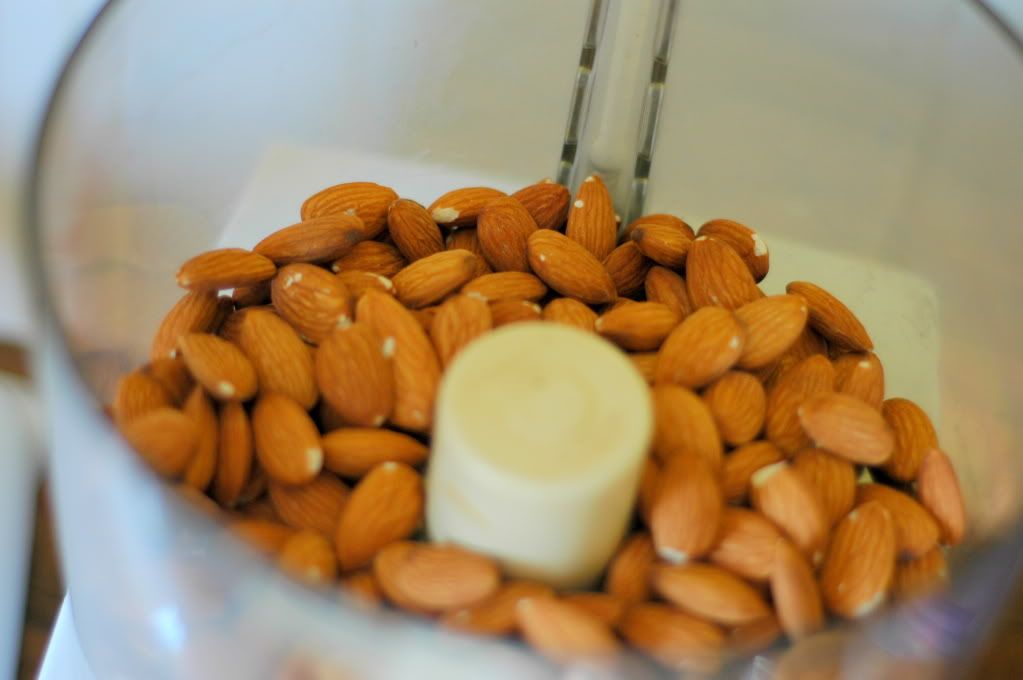
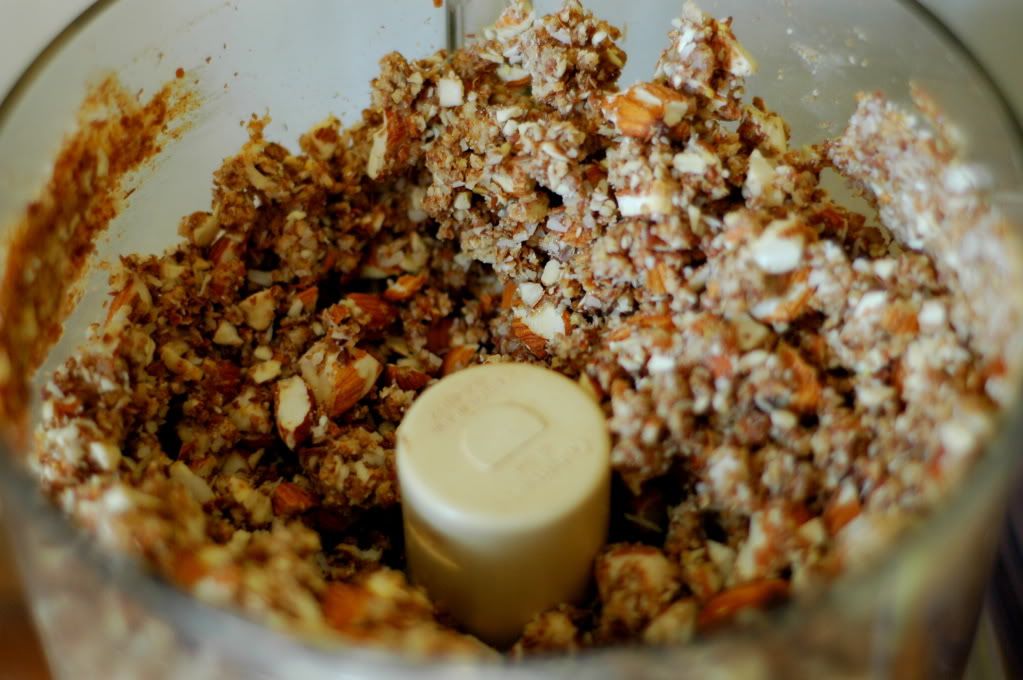
Step One: In your food processor, mix together the almonds, salt, ground flax seed, coconut, and peanut butter or almond butter. Pulse, pulse, pulse until just combined.
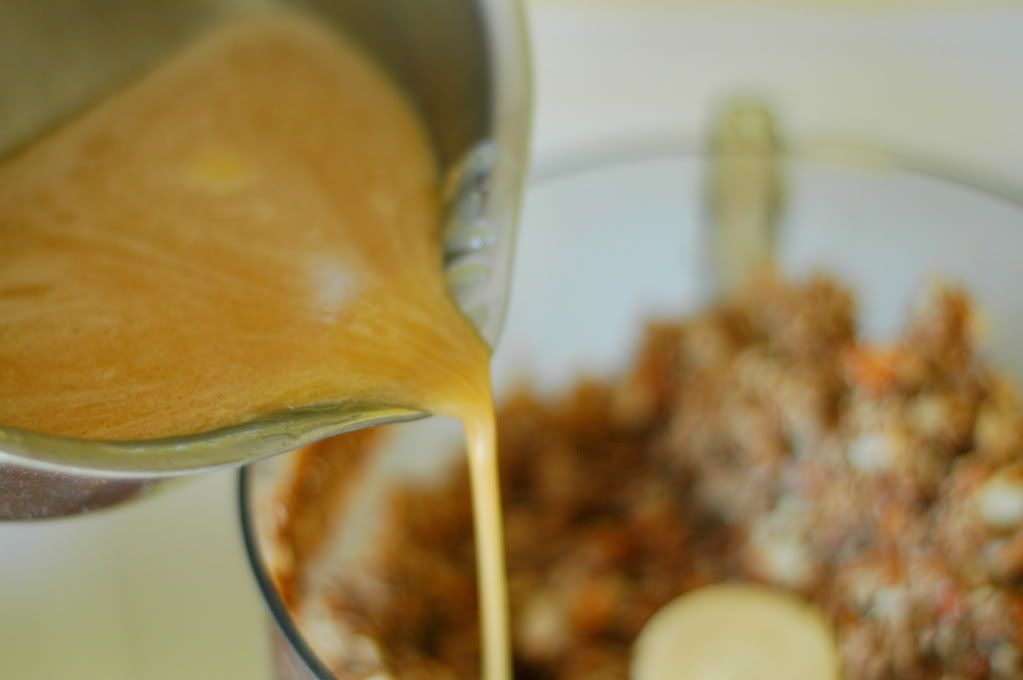
Step Two: Mix together the coconut oil or butter and vanilla together in a saucepan and gently melt. Then, pour this into the almond mixture...Pulse, pulse, pulse a few times to get it all mixed.
Step Three: Add in your honey or rapadura. If you use honey, the bars will be a little more gooey - though you could increase the amount of almonds & flax slightly to compensate for this. Feel free to decrease the amount of sweetener to your personal taste preferences. Pulse a few more times.
Step Four: Pour the almond mixture into a greased baking pan, smooshing it down with the back of a spoon.
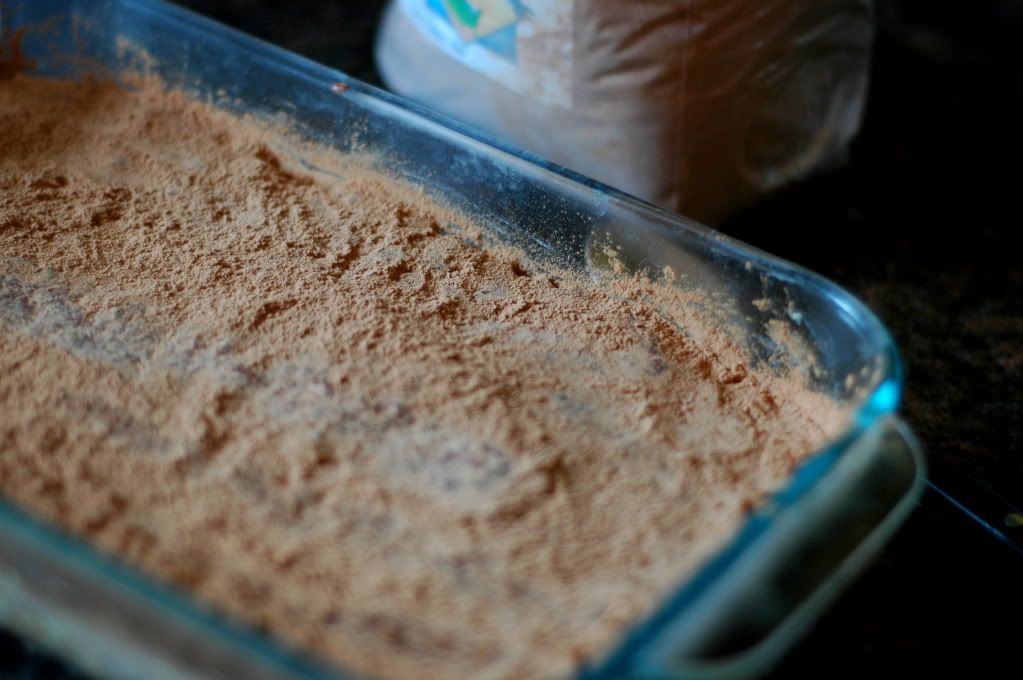
Step Five: After the mixture is spread evenly, sprinkle the top of the bars with either cocoa powder, carob powder, or smear the top with melted dark chocolate chips. Mmmm.
Step Six: Refrigerate the bars for thirty minutes or so to help them set up. Then, cut them to the desired size and enjoy!
Next time I make these, I might even try shaping them into little individual bars on a cookie sheet! Or maybe I'll use a cookie cutter and shape them into hearts! Or clovers! Or rainbows!
Ok.
I probably won't do that.
But what I will do is gladly eat these bars. They are rich in healthy fats and downright delicious. Just my style.
Give 'em a try and let me know what you think! As usual, that's an order, not an option.
And Amen.
Fall weather brings with it peculiar and warming feelings, don't you think?
The kind of feeling that makes you want to curl up in a blanket and read a book.
Or finally wear those fuzzy, warm socks you've been avoiding all summer.
Fall weather also brings with it the desire in the deep recesses of my heart.......to make soup.
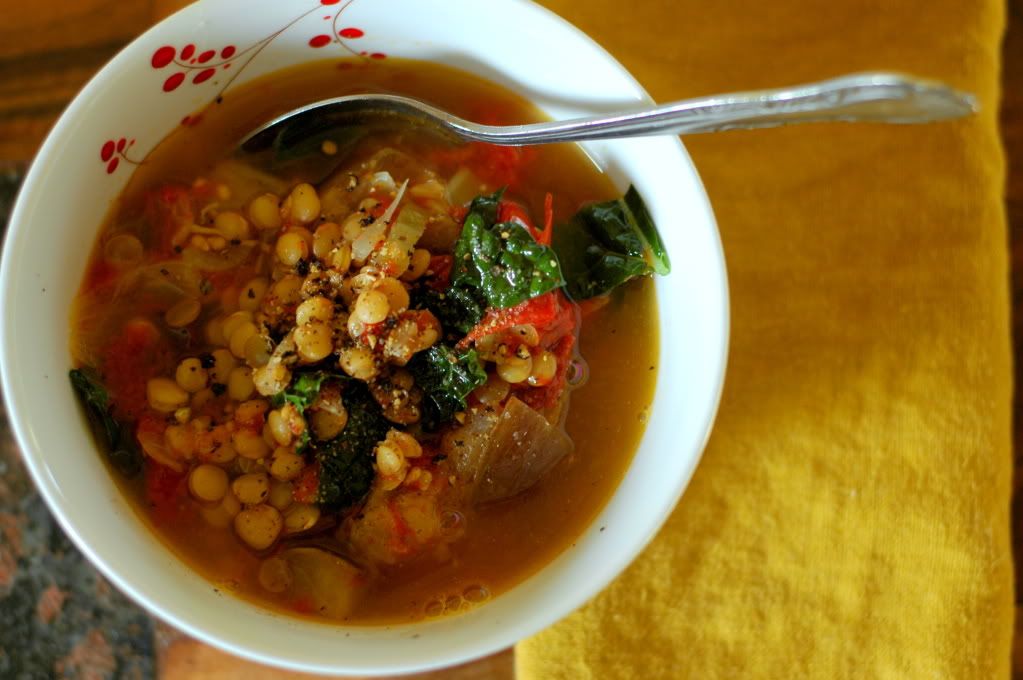
In fact, there were two different types of soup on my menu this week. We began the week with this wonderful roasted tomato & lentil soup. I think you'll enjoy it.
Especially if you eat it while curled up in a blanket in your favorite, fuzzy socks. I'm just sayin'...
Spiced Lentil Soup With Roasted Tomatoes & EggplantOriginal Recipe from Nourished Kitchen
You will need: - 2 cups lentils - Filtered water - 2 tablespoons apple cidar vinegar
- 3 pounds fresh tomatoes - 1 pound eggplant - 2 tablespoons olive oil
- 2 tablespoons butter - 1 medium onion, minced - 3 ribs celery, diced thin - 1/2 teaspoon cumin - 1/2 teaspoon coriander - 1 teaspoon dried mustard - 2 bay leaves - 2 quarts chicken stock aka liquid gold, baby - 1 bunch kale, roughly chopped - Sea salt & pepper, to taste
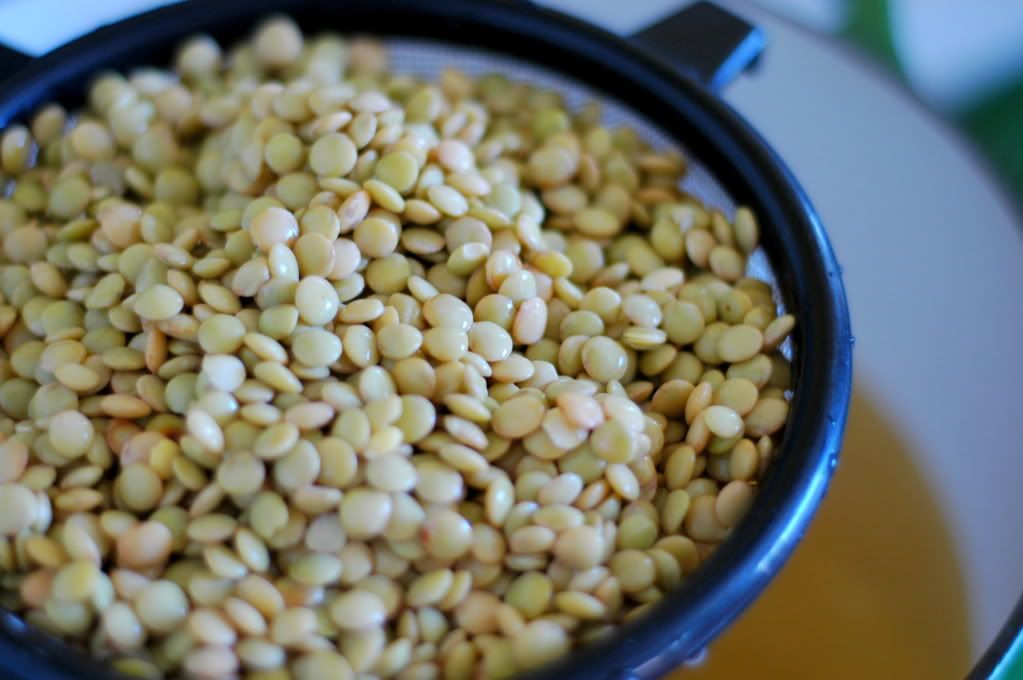
Step One: Cover your lentils with enough filtered water to completely submerge them, then stir in the vinegar and allow the lentils to soak 8-12 hours.
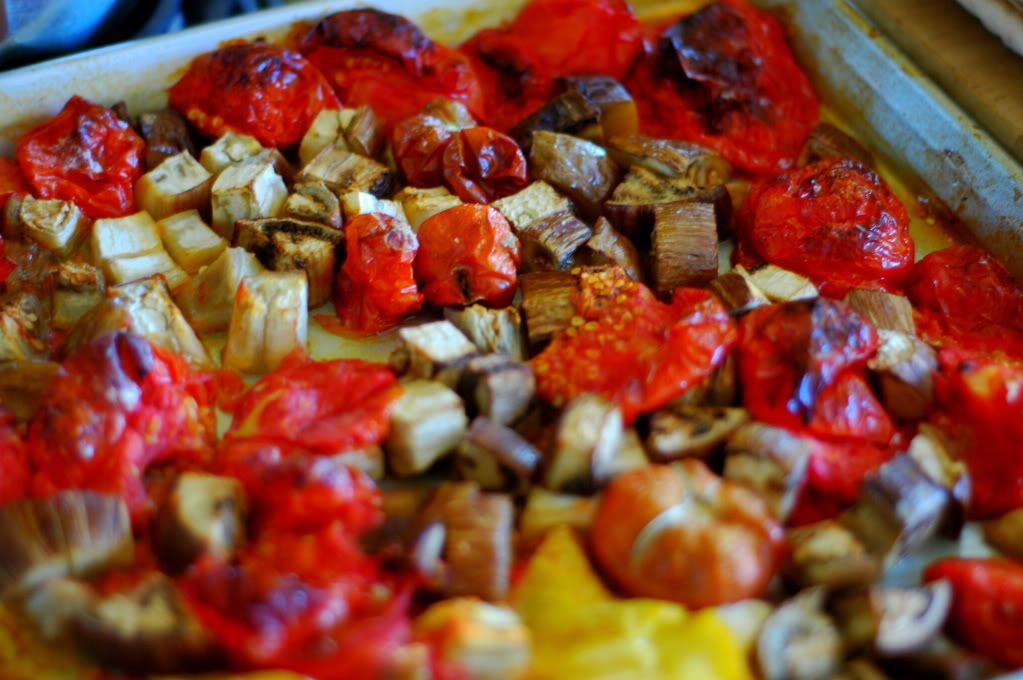
Step Two: Cut the tomatoes and eggplants into large cubes. Then, toss them with the olive oil and arrange them on a baking sheet. Bake them in a 425 degree oven for 30-45 minutes, or until the tomatoes are getting slightly caramelized. Mmm....
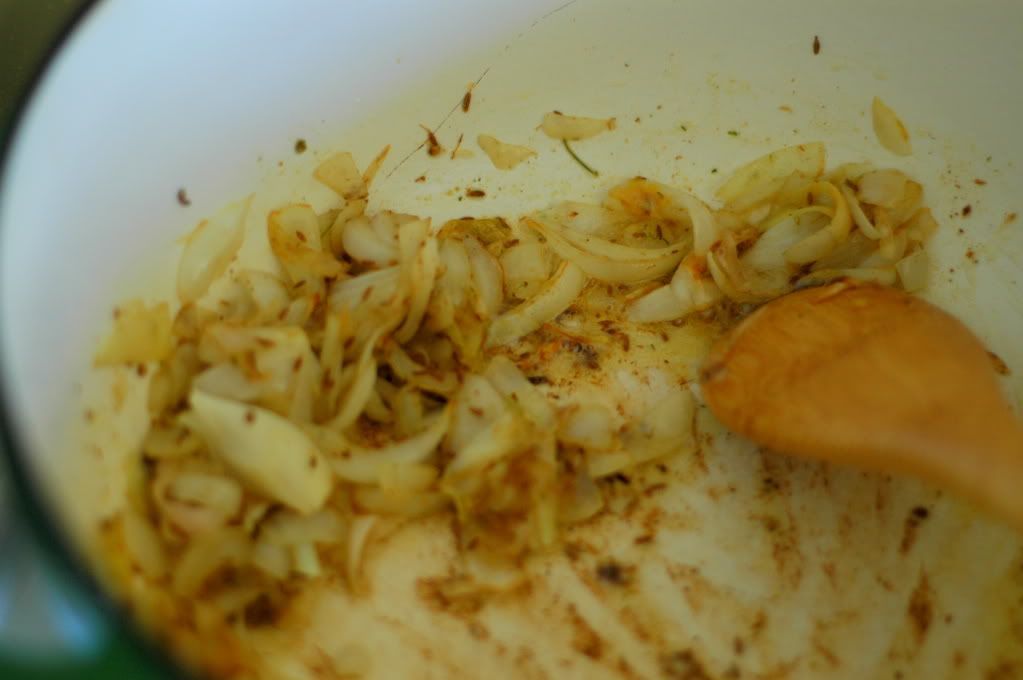
Step Three: While the tomatoes and eggplants are roasting, melt your butter in a large soup pot. Then, stir in your minced onion and celery. Gently cook until softened, maybe 10 minutes or so. Once the onion and celery are tender, mix in the cumin, coriander, dried mustard, and bay leaves. Please excuse the fact the this photo doesn't include the celery. Whoops. Looks like someone can't follow directions very well...
Step Three: Pour in your delicious chicken stock, that is chuck full of minerally goodness...
Step Four: Then, add in your lentils. Cover, and allow the soup to simmer for 20 minutes or so, until the lentils are tender.
Step Five: After simmering, add in your roasted tomatoes & eggplants. Allow the soup to hang out for a little bit so the flavors can meet. Roasted tomato, meet coriander. Eggplant, meet mustard.
Step Six: Right before serving, remove the bay leaves, and season with sea salt and freshly ground pepper. Then, gently mix in your kale and allow it to wilt.
Step Seven: Serve with a crusty bread, a delicious side salad, and an extra lovely drizzle of olive oil.
Doesn't that look delicious?!
I'm very thankful I happened upon this recipe, as I am ever eager to add to my growing collection of seasonal soups. And even though my husband isn't crazy about lentils, he still humored me, and happily (?) ate this wonderful soup for dinner. Though he kept asking me where his steak was...
I tried to tell him that lentils are rich in folate.
But because they are bean-like in nature, even the poor lentil remains on his hit-list.
I must say though, I am blessed with a wonderful man who can eat a vegetarian lentil soup for dinner and be satisfied (even without a steak...). And for that I am thankful.
Because soups + me + fall weather = true love.
Now, if you'll excuse me....I must go dig my fuzzy socks out of my dresser. My feet are freezing!
Ah yes. Fall, sweet fall.
I'm ready to savor this season! Starting with soup.
Enjoy!
Friday was my little pickle's birthday, as you are well aware since I've told you twenty times already.
And I'm still mourning, and celebrating, the fact that she is growing up so quickly. While it's hard to see her grow out of her baby-ness, I am also excited for all of the new things she is learning and becoming. She plays now. And giggles. And hides. And chases. And hugs. And kisses. And snuggles.
Friday, at her birthday party, she began walking.
And I cheered.
And I cried.
Then I begged my husband to have another baby with me.
...
Moving on.
Seriously, though. I need another baby.
For reals, I'm moving on now.
Her wonderful birthday celebration didn't come without some forethought to what baked goody we would enjoy! And while I tried to convince Stuart it would be fun to make some red-velvet cupcakes colored with beet puree, he insisted that I make something...less...beet-y. So instead, I opted for a chocolate zucchini cupcake. And while I wish I would have taken the time to soak the flour, I didn't. It's a good thing Sally Fallon wasn't invited to this birthday party - she wouldn't have been pleased...
...although...I must share with you this killer frosting recipe I found! I can't remember where I came across it...otherwise I would give them credit...
Never-the-less, this frosting was super easy and super delicious. I was so thankful to have a healthier alternative to the typical powdered-sugar frosting option. I will be using this for my go-to frosting from now on, as it far surpasses the coconut oil based "frosting" I have attempted before. Which didn't taste good. And didn't have a good frosting texture. Bleh.
I'm half-tempted to just mix up a batch and keep it in the fridge for when I need a lil sweet pick-me-up...because sometimes, that's just what I need. Quit judging.
Vanilla FrostingThis recipe is a vanilla based frosting, though it could easily be altered to chocolate or orange or lemon or almond or cinnamon or whatever your heart desires. Add a few tablespoons of cocoa powder or the zest of an orange, lemon, or lime, or even a teaspoon or two of almond extract or cinnamon! Yummo.
You will need: - 2/3 cups honey - 3 egg whites - Pinch sea salt - 1 teaspoon vanilla extract
Step One: In a double boiler (or a smaller pan placed in a half-filled-with-water larger pan), using an electric mixer, beat together the honey, egg whites, and salt. Whip it. Whip it good.
Step Two: Keep whipping the honey/egg mixture as your bring the water in the bottom pan to a boil. This will take a few minutes.
Step Three: Once the water is brought to a boil, continue mixing for another five minutes. Then, remove from heat.
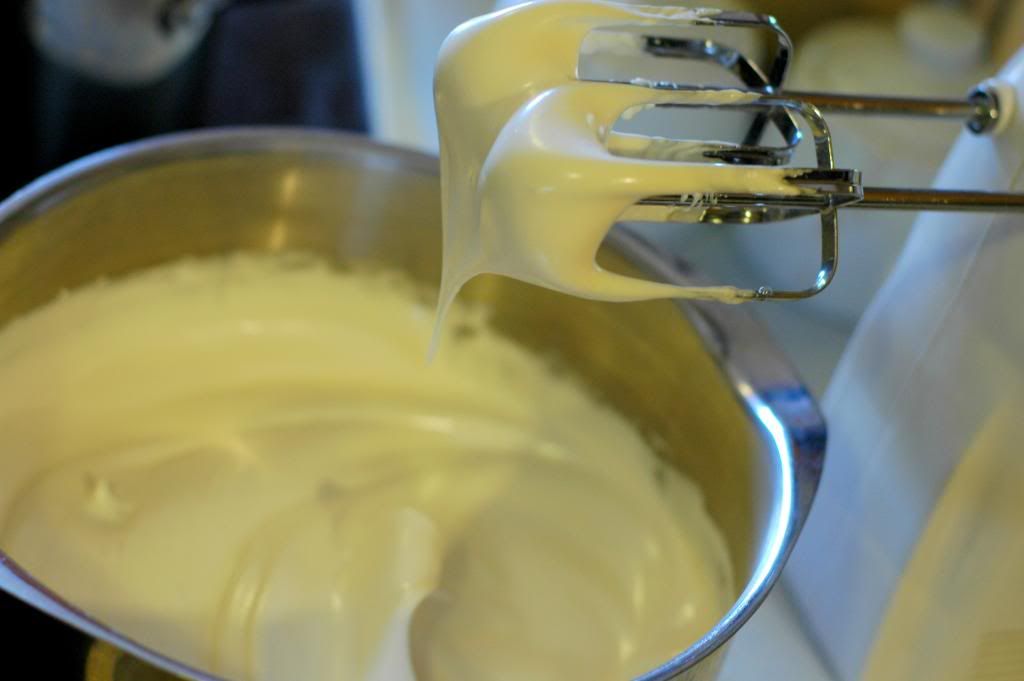
Step Four: Mix in your vanilla and continue to mix with the beaters until peaks form. Or until you like the texture that you see.
Step Five: Ta-da!!!! Frosting. Shiny. Sweet. Marshmallow-like. Wholesome. Sinfully delicious.
This was the perfect topping to these dark chocolate cupcakes. Mmm.
As you can see, Georgia quite thoroughly enjoyed it.
Isn't it a rule on your baby's birthday that they are allowed to get as messy as they'd like while eating their cake? No one even cares if there is chocolate smeared in their ears and between their toes. They just look so dang cute...when in Rome, I say! When in Rome, on your birthday, get messy while eating your cake!
A good time was had by all...
G-baby and Brooks...
Kyson...my baking help and bowl licker...
Papa and two of his grandbabies...
Grandpa Larson...
...and a stuffed hippo from Auntie...
And did I mention cupcakes with frosting?!
What a special day it was! Maybe next year, there will be another little one's birthday to celebrate!...
Sorry, I couldn't help myself. Blame my uterus.
And enjoy this frosting!
Though I've been heavily debating which recipe to share with you next, the wonderful crispness in the morning air made it nearly impossible for me to resist sharing this wonderful one with you.
As I've told you before, this beautiful season, we have been blessed with as many pears as we can possible handle. We've been canning & dehydrating like madmen!
I use the term "we" loosely, and by loosely, I mean I use "we" to mean "me" (as Stuart has yet to share in my preserving enthusiasm). "All by myself...don't wanna be...all by myself...anymore..."
Anyway. For the past few years, I've been wanting to make pear butter, yet for one reason or another, had never gotten around to it.
Well this year, I did. And oh, am I so glad.
A few nights ago, Georgia and I ventured into the orchard with buckets in hand. I filled the buckets completely with fruit that had fallen on the ground, specifically choosing the pears that were very ripe. Bruises? Sure! Rotting spots? You bet! Mush on half of it? I'll take it!
You see, the beauty of pear butter is that you don't have to use your beautiful pears to make it. In fact, the more ripe the fruit, the sweeter the overall butter will be at the end. So use this recipe to utilize all of those past-prime & less-than-gorgeous pears you've happened across this season.
Side-note: This recipe is a "low-sugar recipe", meaning I am mostly relying on the sweetness of the fruit for my sugar. I can't stand preserve recipes that are 50% fruit and 50% sugar! Yikes! Instead, I chose to opt for a recipe that would utilize all the goodness already in the 'ol pear and one that is simply enhanced by the addition of a natural sweetener.
Okay. Enough jabbering. Let's party.
Pear Butter.
You will need: - 3 lbs. of overly ripe pears - 2 teaspoons of lemon juice (optional) - 1/4 cup rapadura or honey - 1 cinnamon stick - 5 cloves - 5 allspice berries - 1 tsp. vanilla extract or 1 vanilla bean
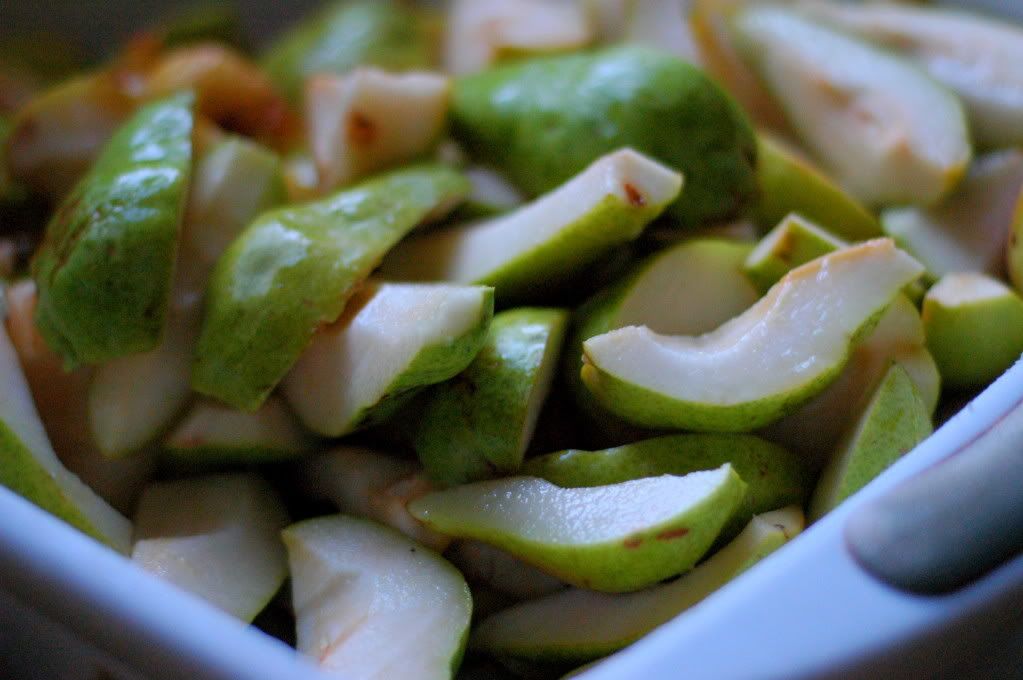
Step One: Clean the pears up. Give them a water wash, and using a paring knife, cut out all of the rotten spots and such. Bruises are really no big deal...but we don't want anythin' too grody in here. Be sure to remove the stem and core too.
Step Two: While I sure wish I had a wonderful food mill to run these pears through, I didn't. But what I did have is a food processor, though I think a blender would work wonders here too! I simple put a load of pears into the food processor and pureed them until they were nice and smooth! Sometimes, I had to stop it to scrape the sides of the bowl, then re-run for a few more seconds in order to get all the chunks. The overall goal of this step is simple: puree the pears by any means necessary. Something tells me you're inventive enough to figure out the "how"...
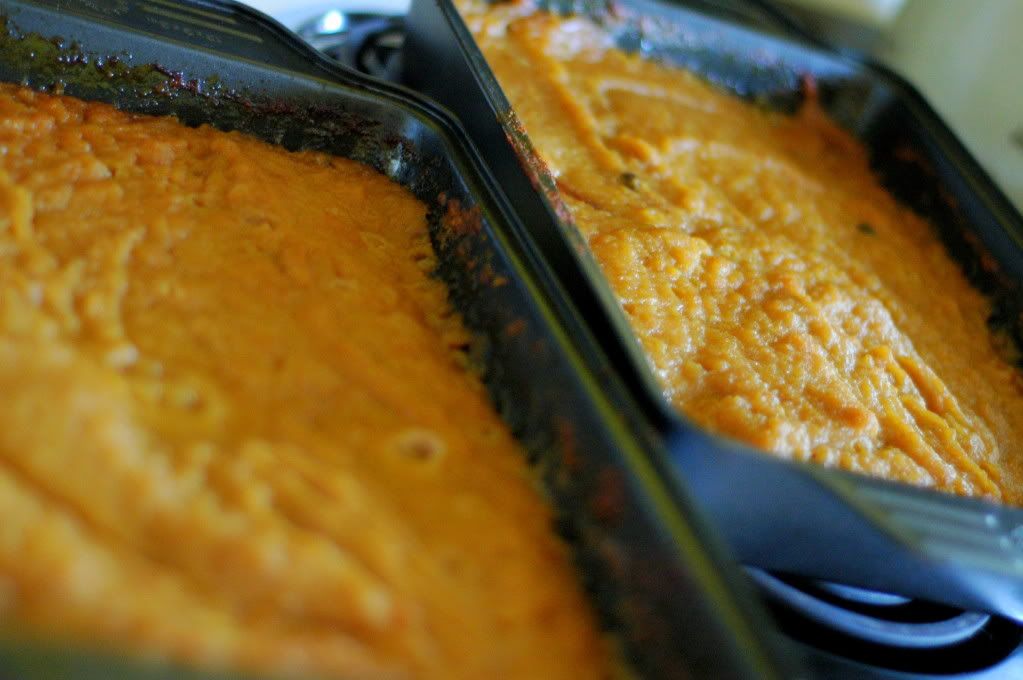
Step Three: After the pears are pureed, mix in the lemon juice, sugar or honey, vanilla, and spices. Mmm. Then, pour the pears into a 9 x 13 pan (or two!).
Did someone say fall?
Step Four: Bake the pears in a 300 degree oven for 2-3 hours, stirring every 30 minutes or so. The longer you cook the pears, the thicker the resulting butter will be. I left mine in for 2.5 hours, and was pleased with the overall thickness at the end.
Step Five: Once the pears are thickened to your liking, remove them from the oven. Then carefully remove the cinnamon sticks, allspice berries, and cloves.
Step Six: Try to not stick your face in the pan and lap this pear butter up like a thirsty dog. Trust me, you'll want to. It made my house smell like a fall-fairy had come to party. It. Was. Amazing.
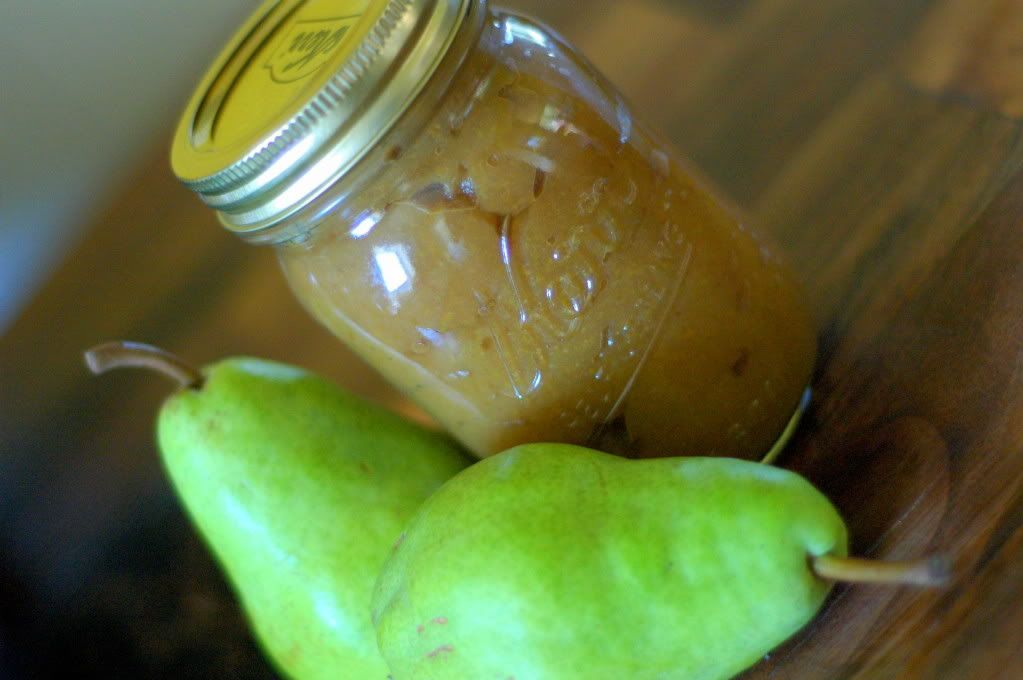
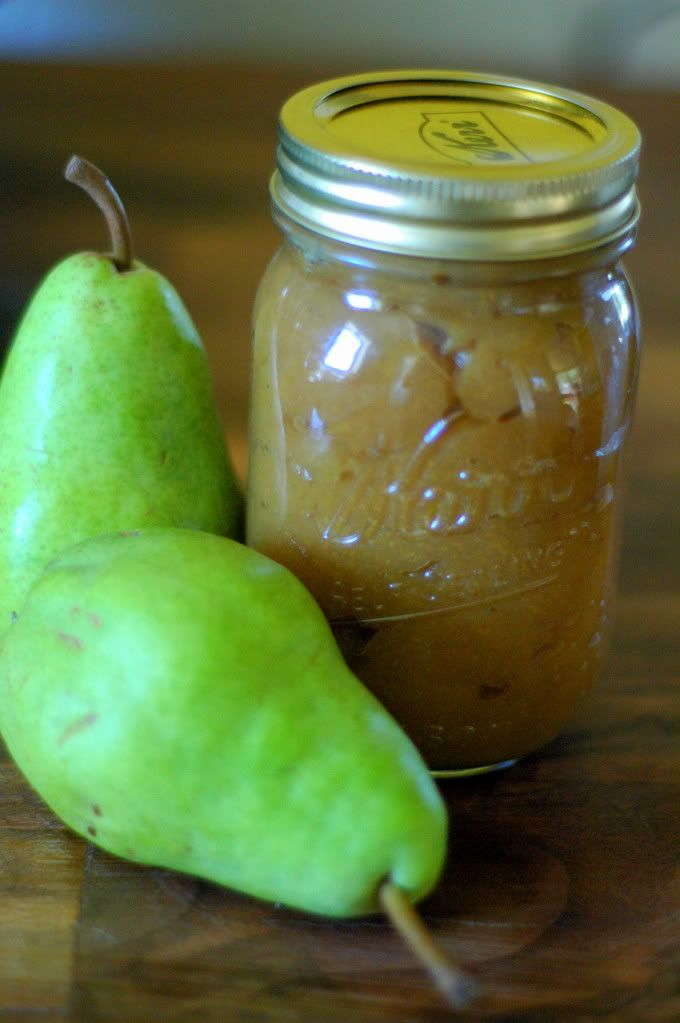
Step Seven: Okay. Now, you can either store this in your refrigerator (it will last for about a month and a half...) OR you can do what I did and can it! Simple ladle the pear butter into sterilized half-pint, pint, or quart jars, adjust your two-piece lids on, and process in a water-canner for 10 minutes. Though I won't elaborate on the details, make sure you follow all the canning-protocol to ensure success!
Note: This recipe is easily doubled or tripled to your delight. I tripled it. Because that's how I roll.
And that's all folks.
Pear butter a la ice cream.
Pear butter a la toast.
Pear butter a la biscuit.
Pear butter a la oatmeal.
Every single morsel of this wonderful preserve shrieks of the goodness of fall. And though I am still sad to see summer fading, smelling this wonderful treat makes me eagerly anticipate all the goodness that fall brings with it.
Like applesauce. And football games. And sweatshirts. And pumpkins.
Mmm! I can hardly wait!
But until then, I must keep busy with my task at hand: Survive summer harvest.
If you don't hear from me for the next few weeks...send help!
Enjoy!
I've been asked by a few readers to provide them with a small list for switching over their cooking to a more whole-foods based diet. And while our "system" is not perfect, it is none-the-less a work in progress. Our current cooking-state has been acquired over years...it was by no-means an overnight change. If you are overwhelmed, I hope you find encouragement in the fact that even small, simple changes can have an overall positive affect on the health of your home. As I try to often remind you, whole-foods cooking is a journey...a walk, if you will. You just have to remember to put one foot in front of the other.
So, here are a few of my tips for those looking to make some changes:
1. Soak your grains. Honestly, I think this one can be the most difficult because it requires proper planning. For example, if I want to make pancakes on Saturday morning, I need to mix up the batter and let it soak overnight on Friday. But don't fret - there are going to be times when soaking just doesn't happen. The point is not to be perfect, but rather to make a habit of planning ahead. Quinoa, lentils, beans, rice, barely, wheat, oats, etc. all benefit greatly from soaking. Phytates are broken down and without them, more minerals are able to be absorbed by your body. Your getting more nutritional value out of the same food - talk about a free lunch! Primarily, we soak all our breads, biscuits, rolls, pancakes, waffles, oatmeal, and even cookie batter.
Which leads me to my next tip...
2. Make your own bread products. Sandwich bread from whole wheat flour. Biscuits, scones, waffles, pancakes, cake mixes, pizza crust, tortillas and more! It may take some time to establish in your home which ones are worth making for you and which recipes you prefer. Not only is the nutritional content much higher in homemade bread products, but it is also free of all the additional bogus ingredients. Refined flour used in commercial bread provides your body with almost no nutritional value - plus, when you make these products at home, you are free to soak and ferment the dough as you wish! Start with one product, then gradually work your way through your pantry, learned to make another....and then another...
3. Learn to make kefir. And drink it! Making kefir at home takes almost no-energy. It sits. In a mason jar on the counter for a day. Then, you strain out the grains and put fresh milk on them. The liquid strained off from the grains is your kefir, which you can drink to your delight. Nothing will jump-start your inner eco-system quite like kefir. You can read my detailed post about kefir HERE. Not only is it delightful in smoothies, but it is also an optimal liquid to use when you soak your grains (see #1 and #2 above!). Kefir works as a great acid medium, so it's very handy to have in your fridge.
4. Substitute olive oil and/or coconut oil and/or real butter for vegetable oil and margarine. From a whole-foods standpoint, olive oil, butter and coconut oil are both a better alternative to vegetable oil and margarine. Olive oil comes from the squishing of olives - that's it. Coconut oil comes from the meat of the coconut - that's it. Butter comes from the cream of cow's milk - that's it. Vegetable oil and margarine both come from some serious Frankenstein-type chemistry and processes, yielding a product that is (some would argue) nutritionally toxic to our bodies.
5. Eat fats. But the good kind. Avocado, soaked nuts, high-quality oils, high-quality butter, high-quality meats, wild caught fish, and raw milk are all great sources for fat. I think one of the worst things one can do while trying to eat "healthier" is to avoid these wonderful fats. Our bodies needs fat to function and when we supply it with the quality fat it needs, it can continue to build strong bones and muscles. Depriving your body of fat ain't leading your anywhere good - trust me.
6. Drink raw milk. From a dairy that you know and trust. Raw milk is truly liquid gold - rich in fats, vitamins, minerals, and goodness. It helps to build strong bones and build your immune system! Cup for cup, your body will absorb many more nutrition from raw milk then it will from pasteurized milk (especially ultra-pasteurized which renders calcium un-usable!). Yes, it can be inconvenient to find. Yes, it's expensive. But it's worth it, especially for the little ones. If you find that you're family goes through it too quickly, try watering it down a little to help to stretch further. See my 'Resources' Page for a website that will direct you to a dairy near you!
7. Switch to natural sweeteners. We've talked about this a little before - making the switch from refined white sugar to natural alternatives, including rapadura, raw honey, maple syrup, and more. This step tends to take some time, as it is a process to slowly weed out all of the products on your shelves that contain refined sugar. Look at it like this: the goal is to replace a nutritionally dead product (white sugar) with a product that is rich in nutrients. Start small. Start with one thing (cookies, maybe?...or sweetening oatmeal?) and slowly but surely, you will be able to all but eliminate it from your diet.
8. Cook at home. This can also be a difficult step, as many of us are in the habit of eating out for multiple meals a day even. By cooking at home, you are able to have control over which ingredients you use, as well as how much of them (sodium, anyone?) you use. One of the easiest ways to make a positive change to your eating habits is to get in the habit of cooking things yourself. Come on, I know you've got that inner Martha Stewart in you somewhere!
9. Acquire a taste for all things vegetable. Vegetables eliminate nasties from your body. That is their role - detox. Get them into your system by any means necessary. Raw, cooked, blanched, sauteed, grilled, mashed...whatever. Just eat them. And a lot of them. I know this sounds cliche, but do as your mother taught you, my dear, and eat your peas. I'm still trying to convince my husband to do this one.
10. Choose high-quality meats. This is different for each species - chicken are best when they free range, beef is best when it's primarily been grass fed, and fish is best when it's been caught in the wild. The logic is simple - what the animal eats, we eat. If the animal eats poo, we eat poo. And I for one do not want to eat poo. I shan't. And thus, I primarily choose meat that has been locally raised (where there is still the accountability factor), humanly treated, and properly fed. You know why almost all commercially-raised animals are fed corn? Because it makes them fatten quickly. Perhaps it is not such a great idea for us to do this as well...I'm just sayin'. See my 'Resources' page for the nearby ranch we order our beef from. Also, if you'd like to read why we eat meat, you can find that HERE. And if you'd like to ask me specific questions as to what I learned and saw while working on a 40,000 head feedlot after college, I'd happily entertain you.
11. Enjoy the journey. If you don't enjoy the whole-foods journey, trust me, it's going to be a loooong road. Learn to love the seasons and the bounty that they bring. Learn to enjoy some freshly cooked, wholesome food and learn to get excited at things like freshly baked bread...
...and kefir smoothies...
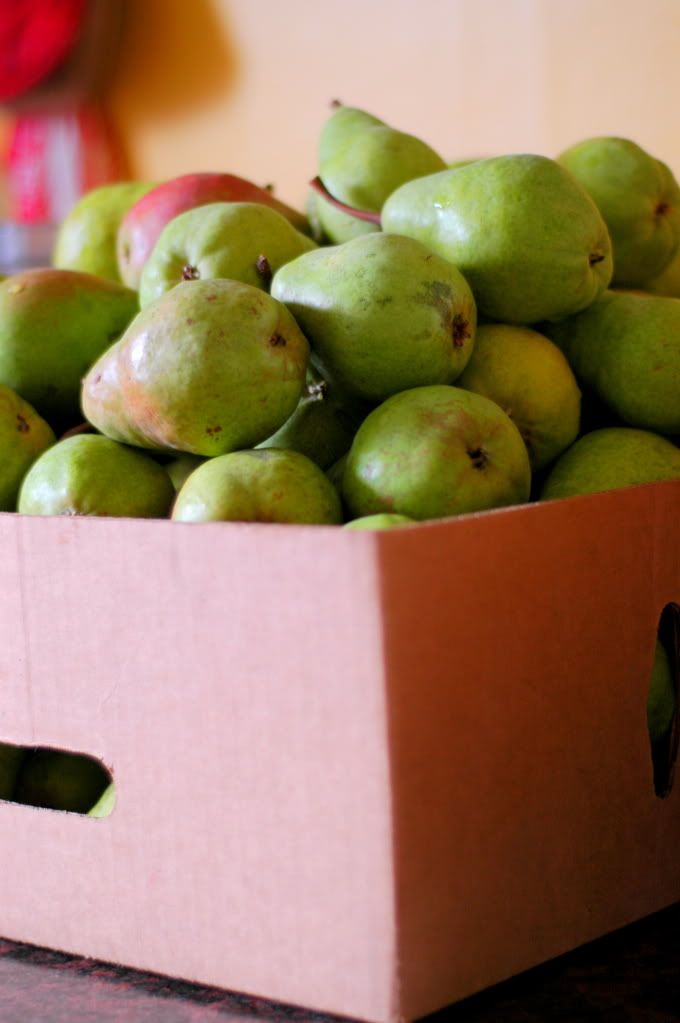
...and a box full of fresh pears...
...and soaking lentils...
...and a stash of butternut squash...
...and an amazingly good balsamic...
...because that is where the joy of the journey is! Celebrate it!